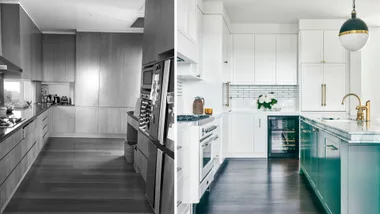
The quality of a paint job can make or break an interior. With so many beautiful colours and finishes to capture the imagination, it’s tempting to dive into a DIY experiment. But first take a moment to master the tricks of the trade.
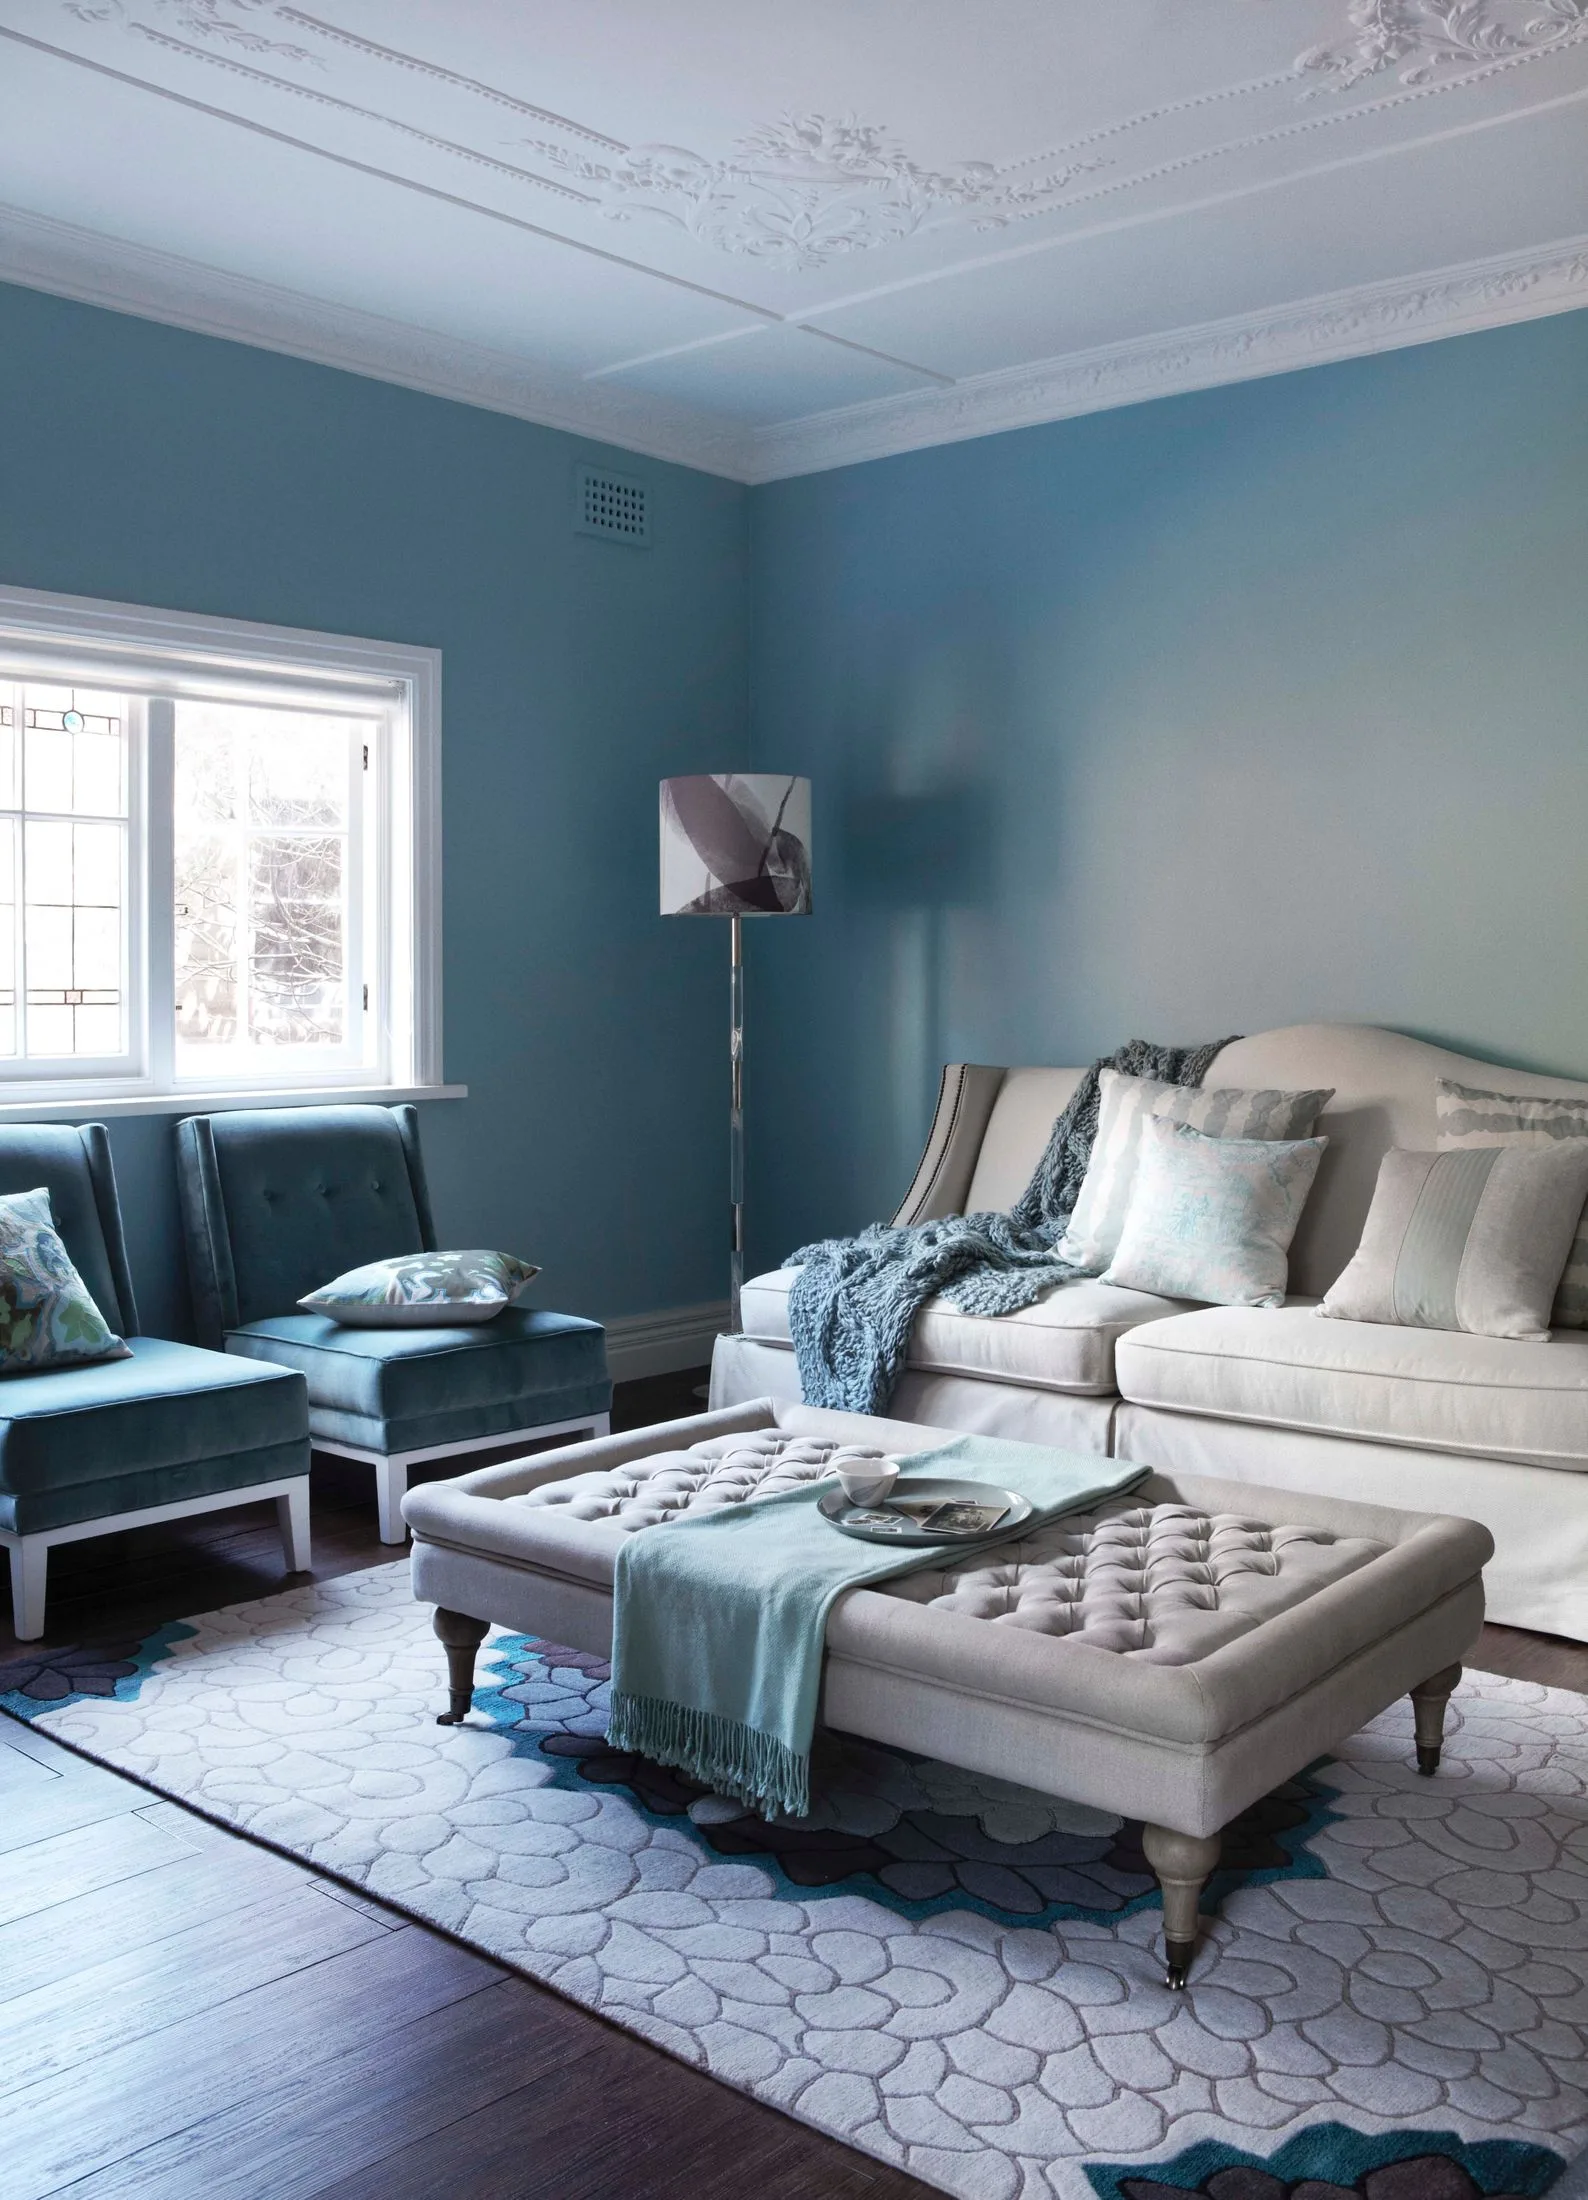
John Paul Urizar
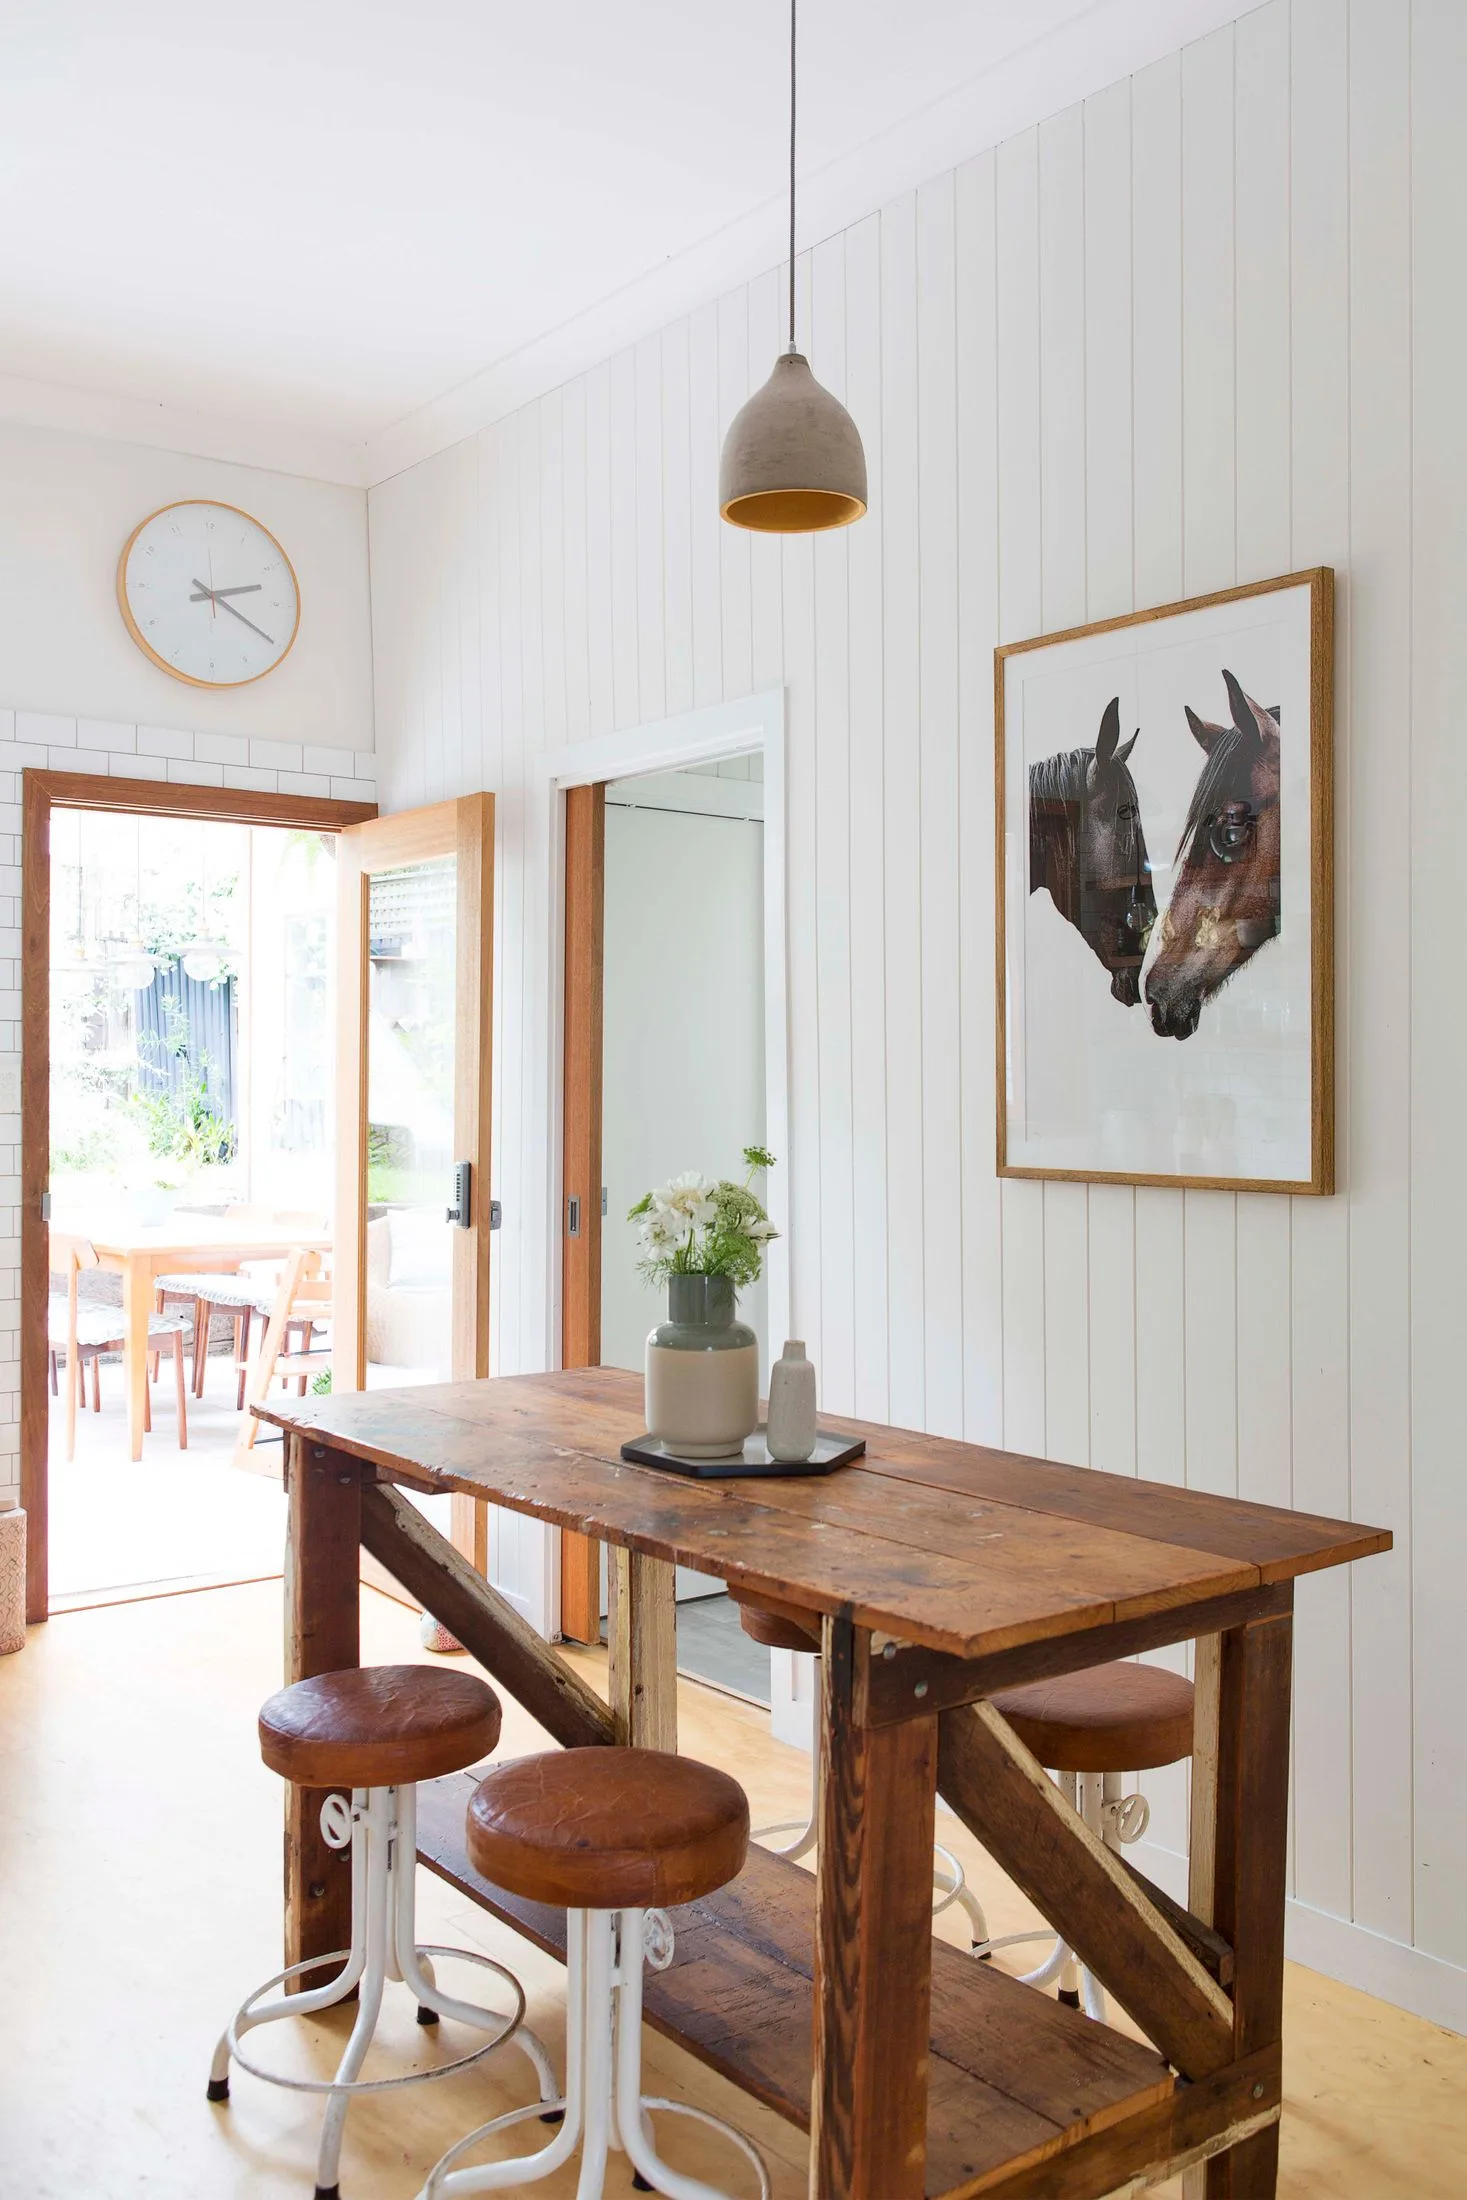
Simon Whitbread
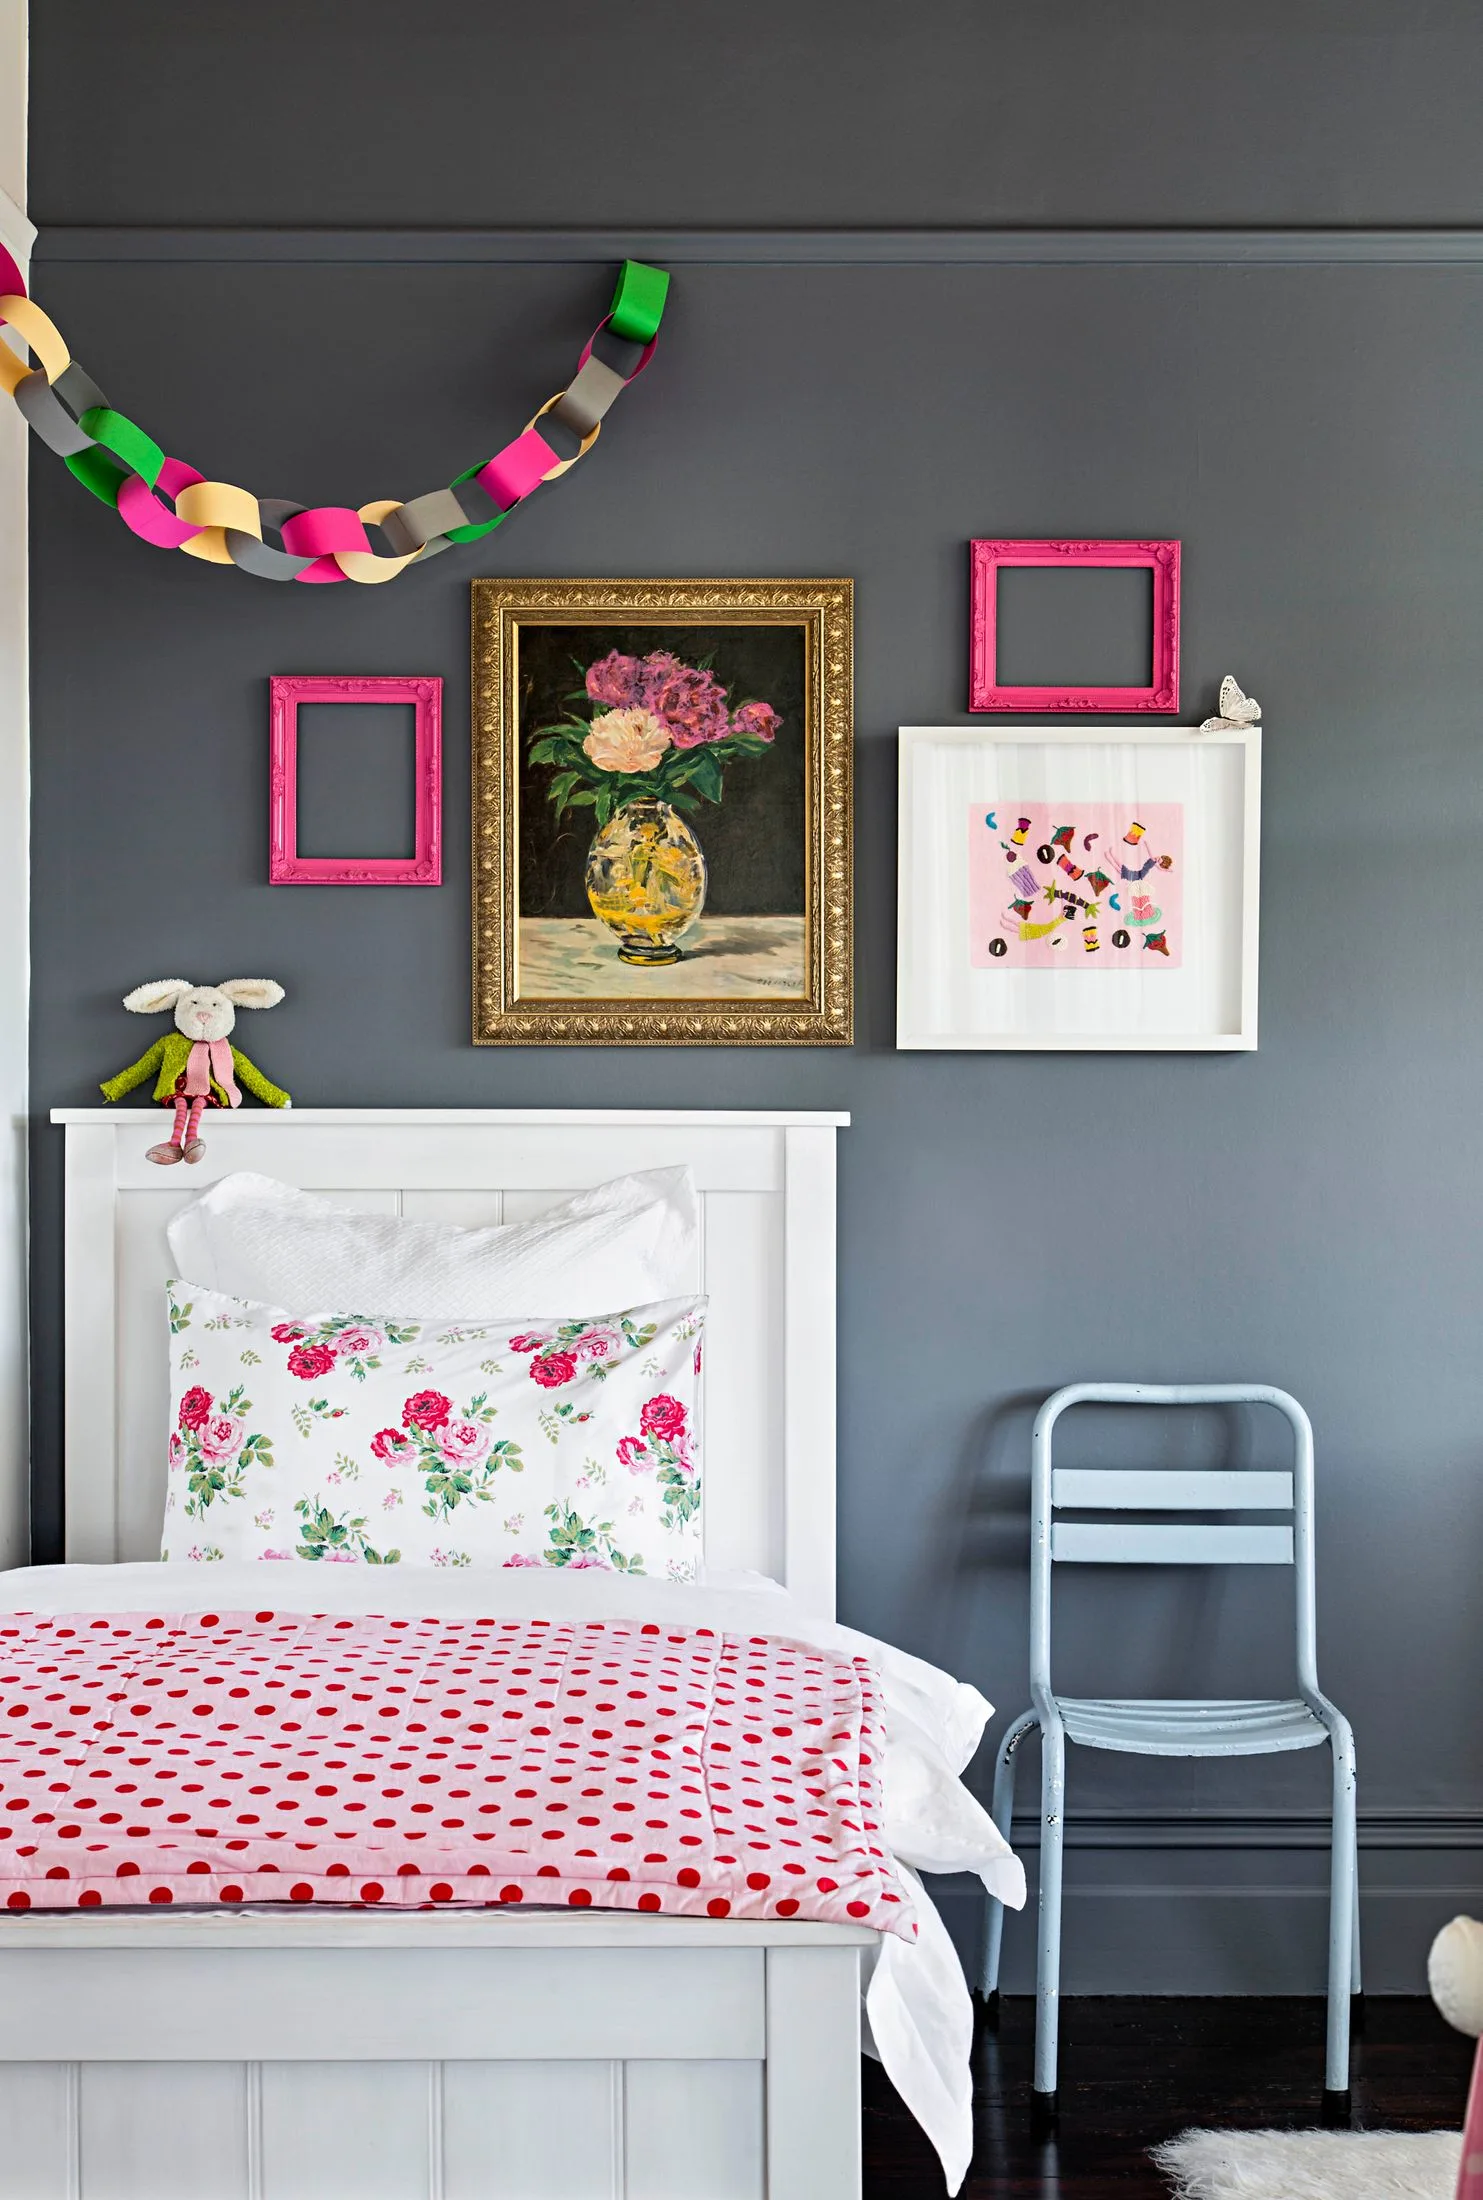
Paul McCredie
1. PREPARE SURFACES The preparation process is the secret to a professional finish. Fill all cracks and imperfections with a pre-mixed filler, allow the filler to dry, then wash the walls down with concentrated sugar soap. Without a clean surface, the paint might not be able to stick to the wall and may peel.
2. TAPE AROUND EDGES Use painter’s tape around window and door edges, so there is less mess to clean up after the job is done.
3. SELECT THE RIGHT ROLLER The right roller is crucial. Generally, a 6-8mm nap (a nap refers to the thickness of the material on the roller) is ideal for gloss and semi-gloss paints; a 10-12mm-nap roller is great for lowsheen and flat paints; and a 20-32mm-nap roller will tackle rough surfaces easily.
4. INVEST IN QUALITY TOOLS Cheap rollers have a tendency to moult, leaving fibres on your wall that will sabotage a smooth finish. High-quality equipment is worth the small investment.
5. CHOOSE THE RIGHT SHEEN Matt paints don’t reflect light so they are ideal for hiding cracks and imperfections. Low-sheen paints are highly washable – more so as the quality improves. They’re perfect for high-traffic areas such as living spaces. Satin and semi-gloss paints are harder-wearing and are good for doors and skirting boards.
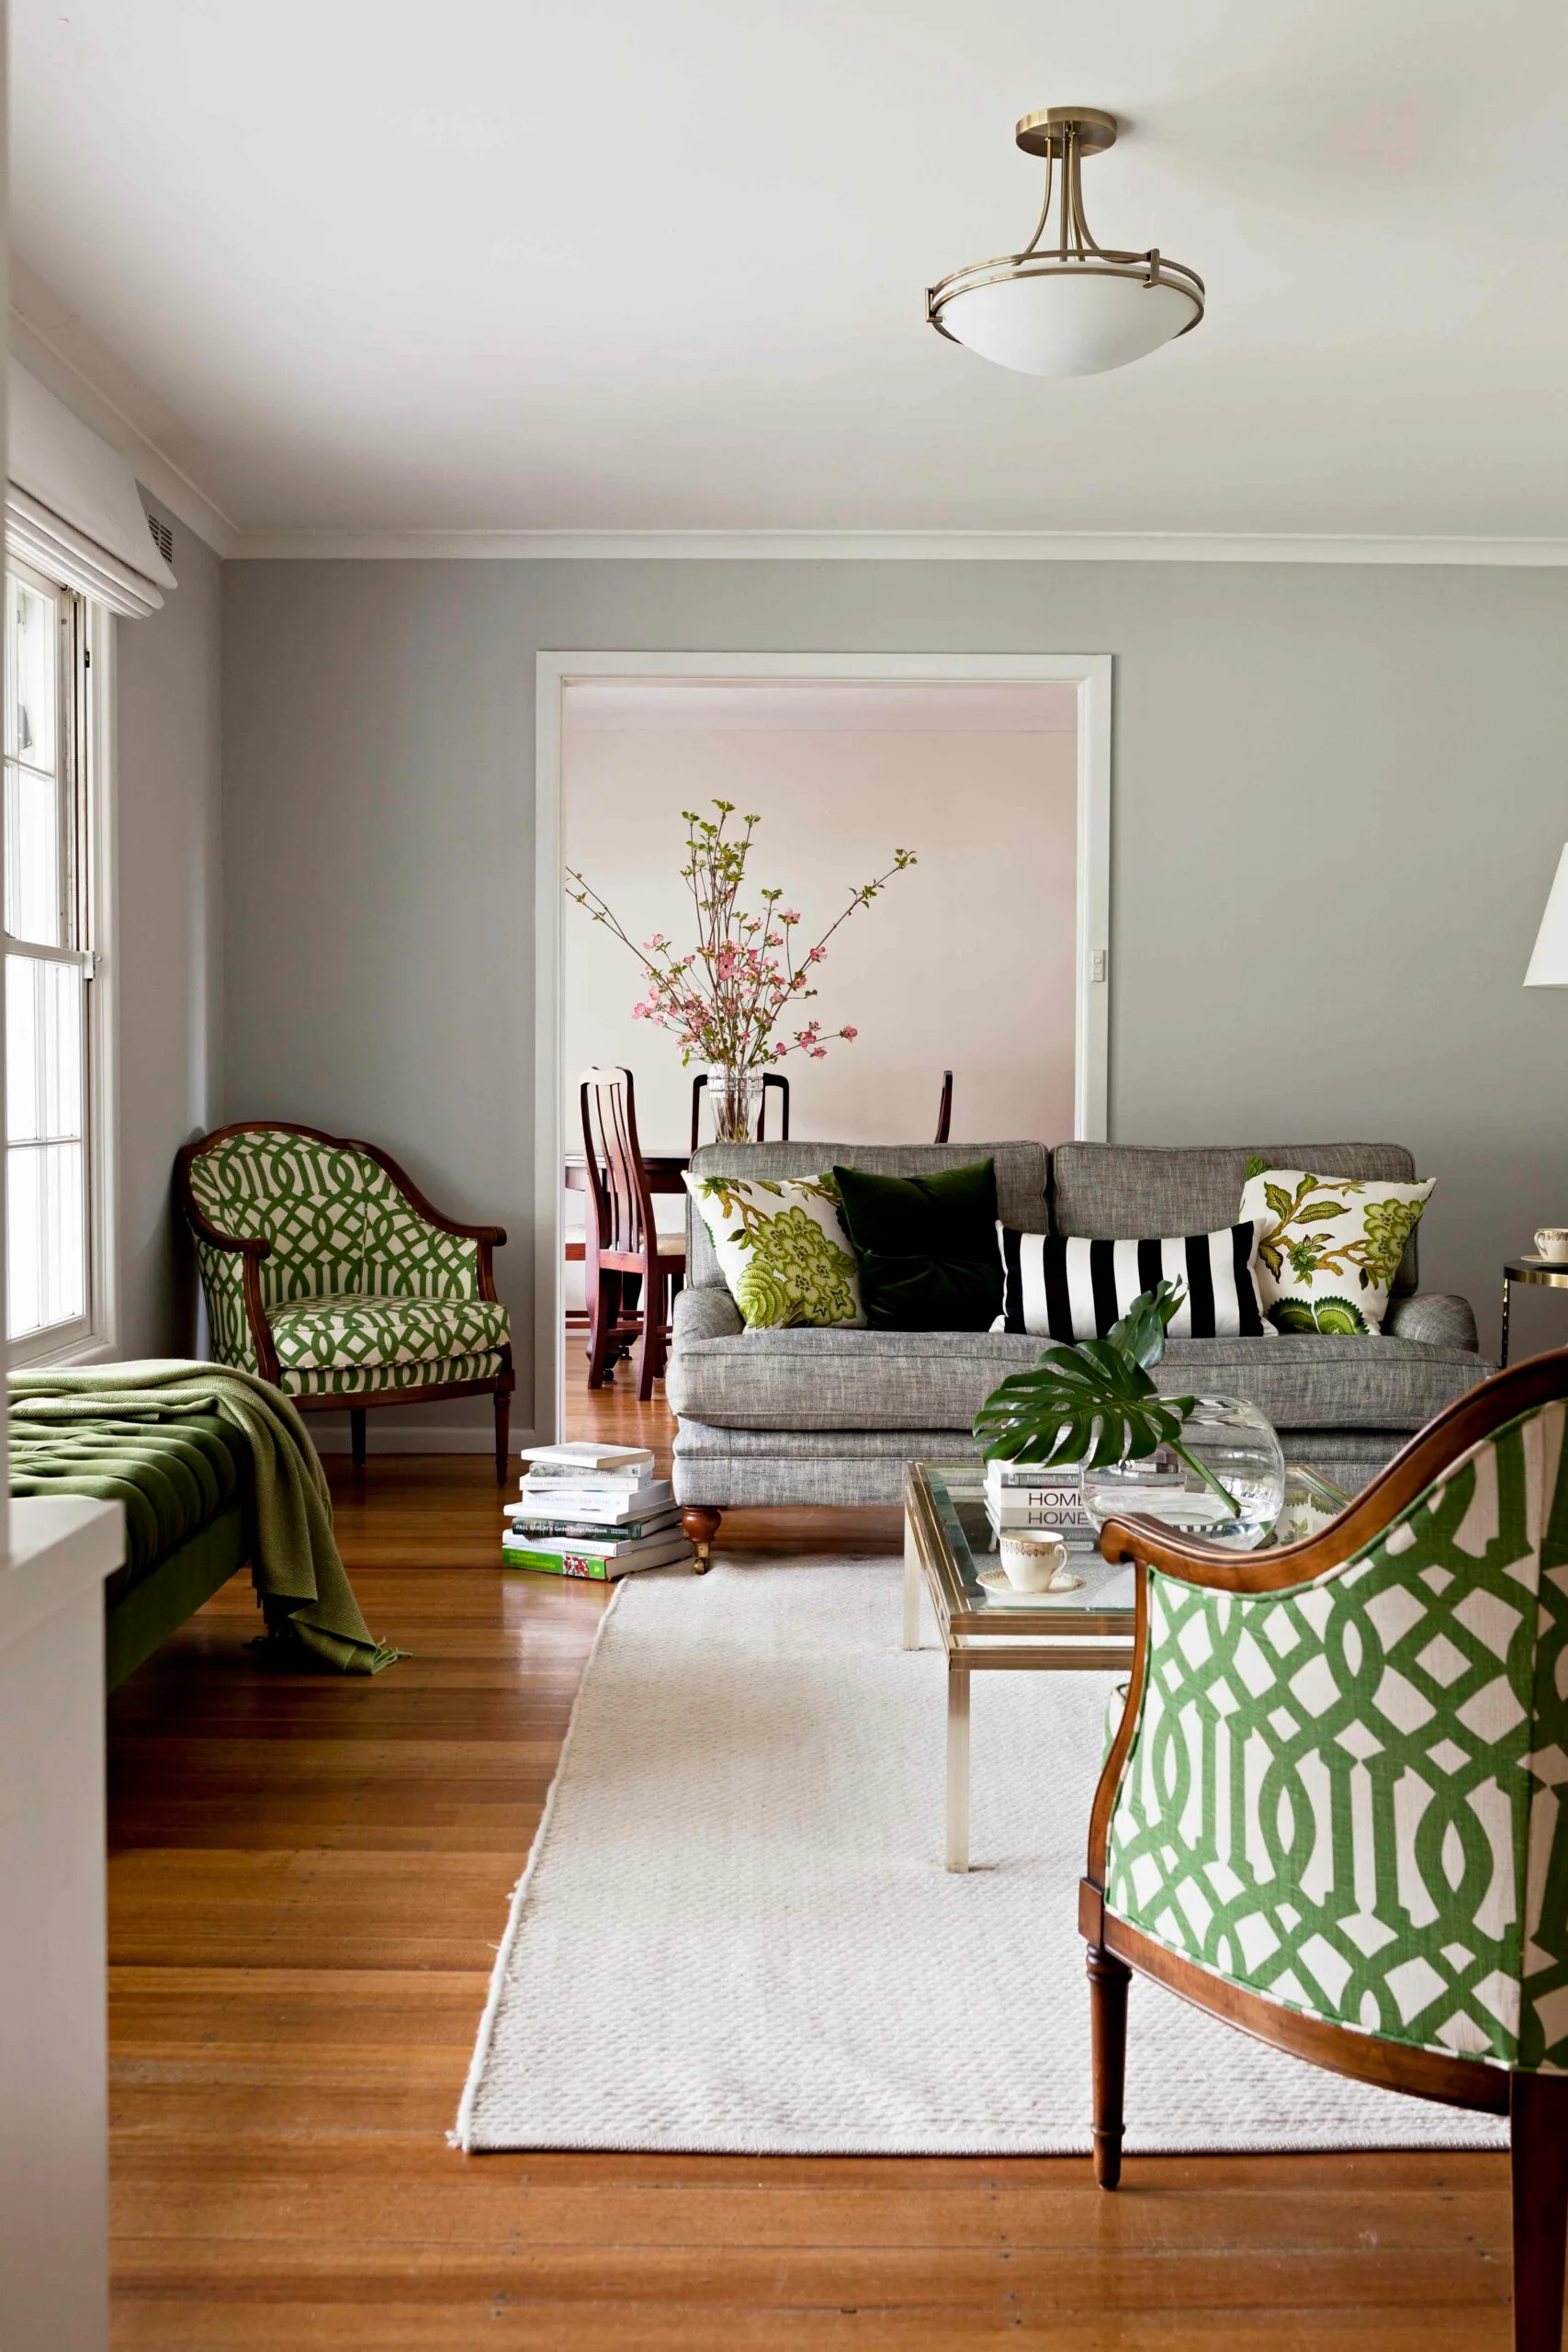
Marcel Aucer
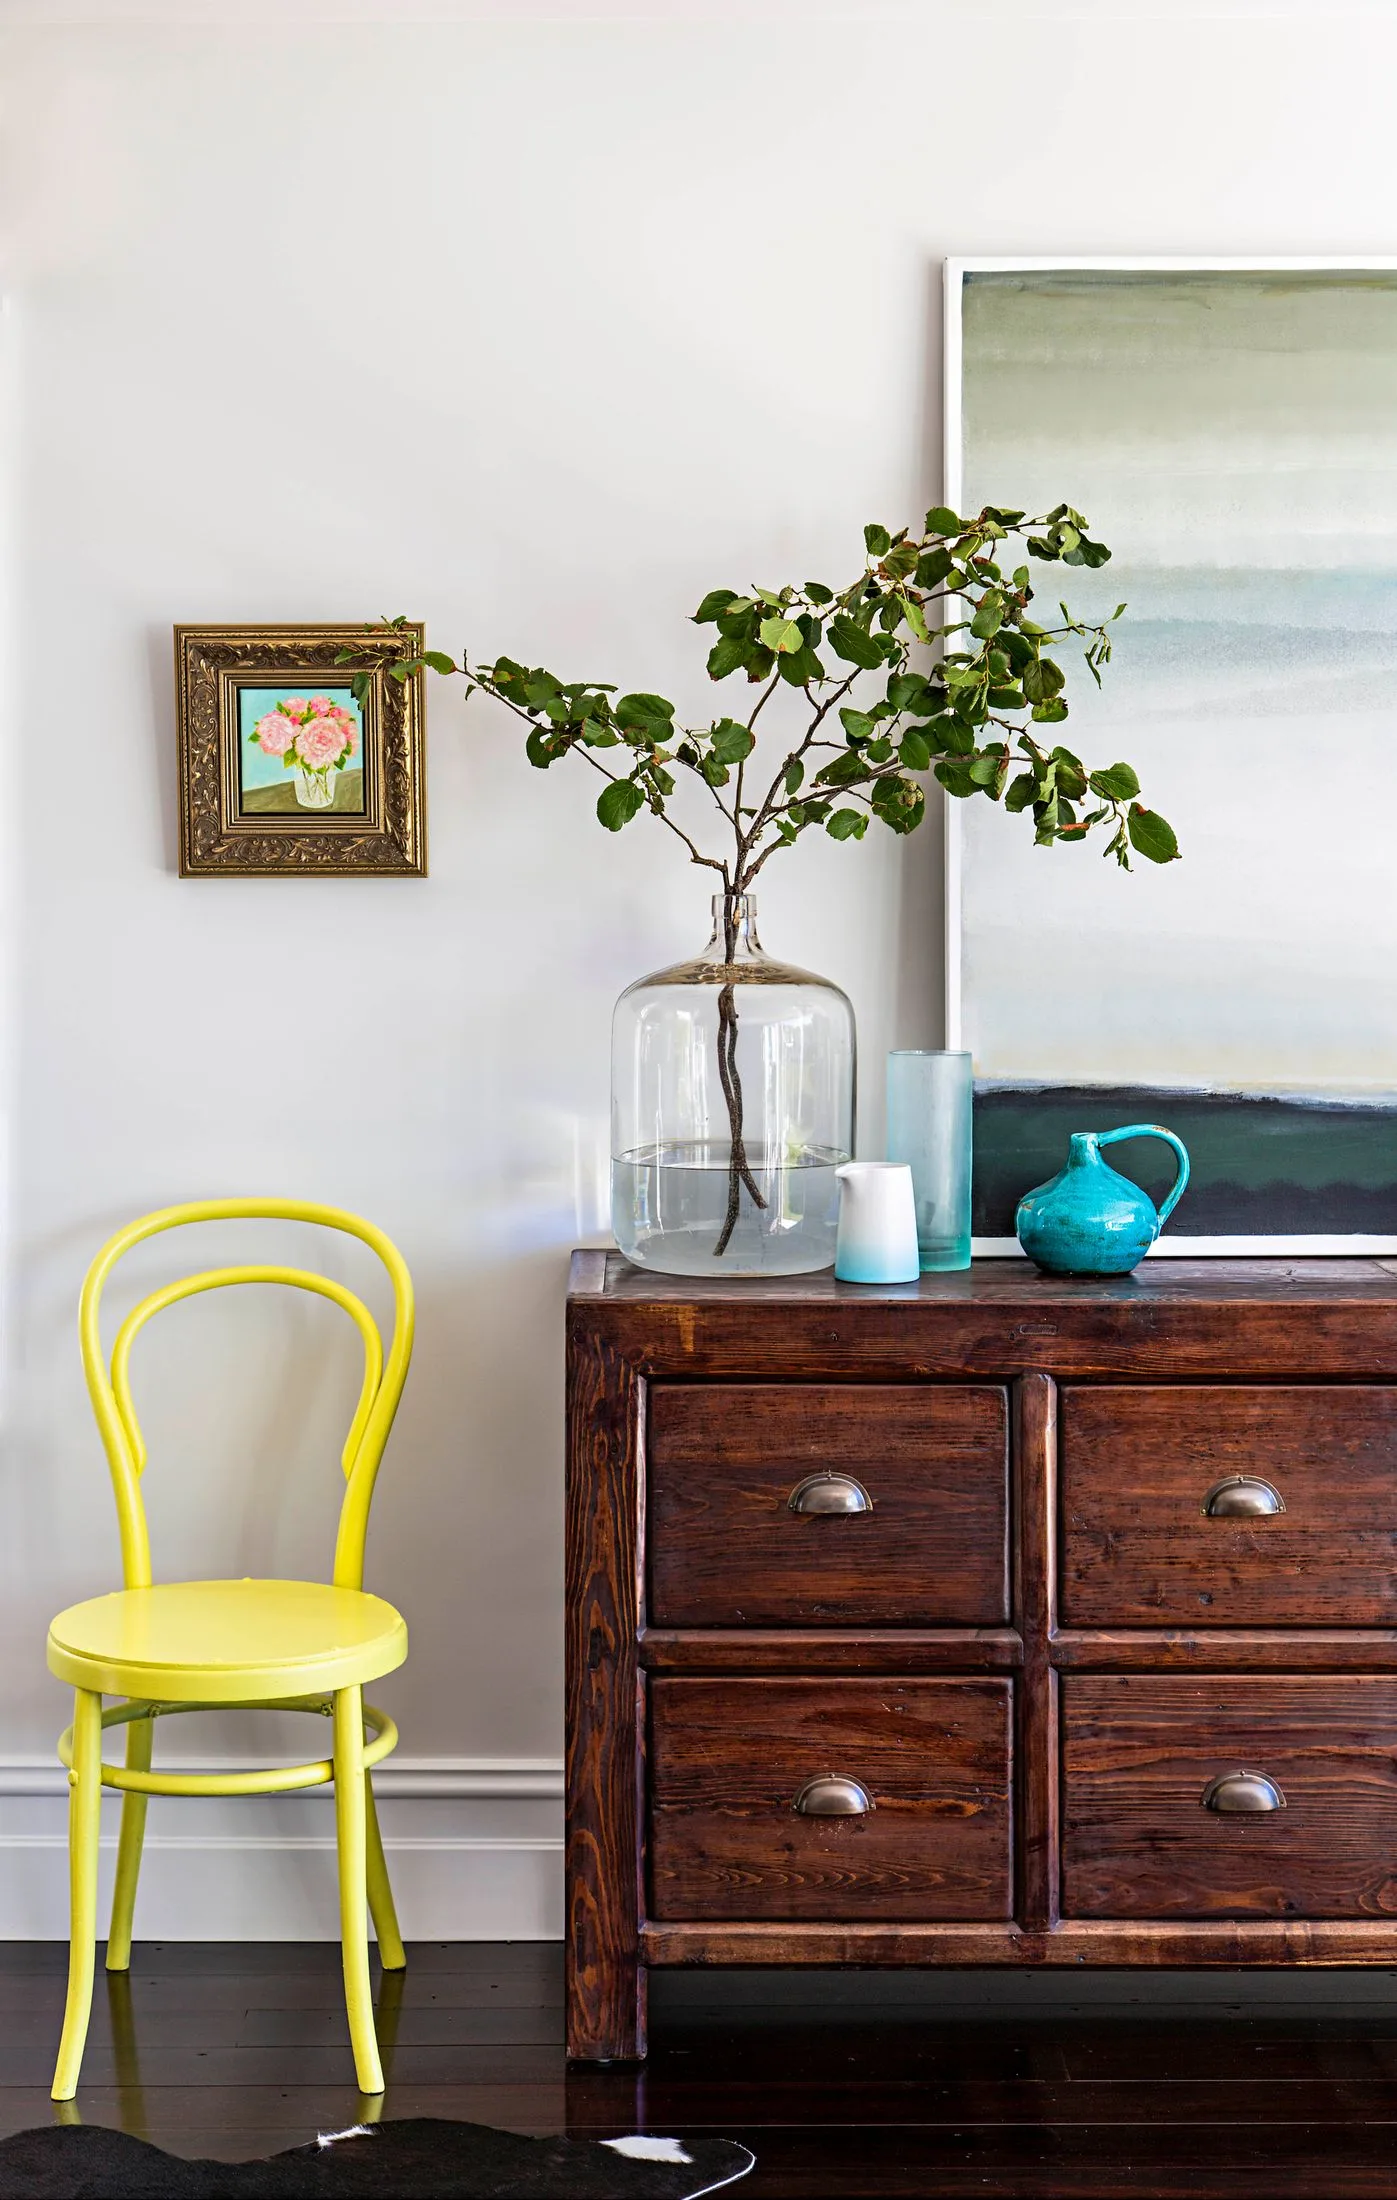
Paul McCredie
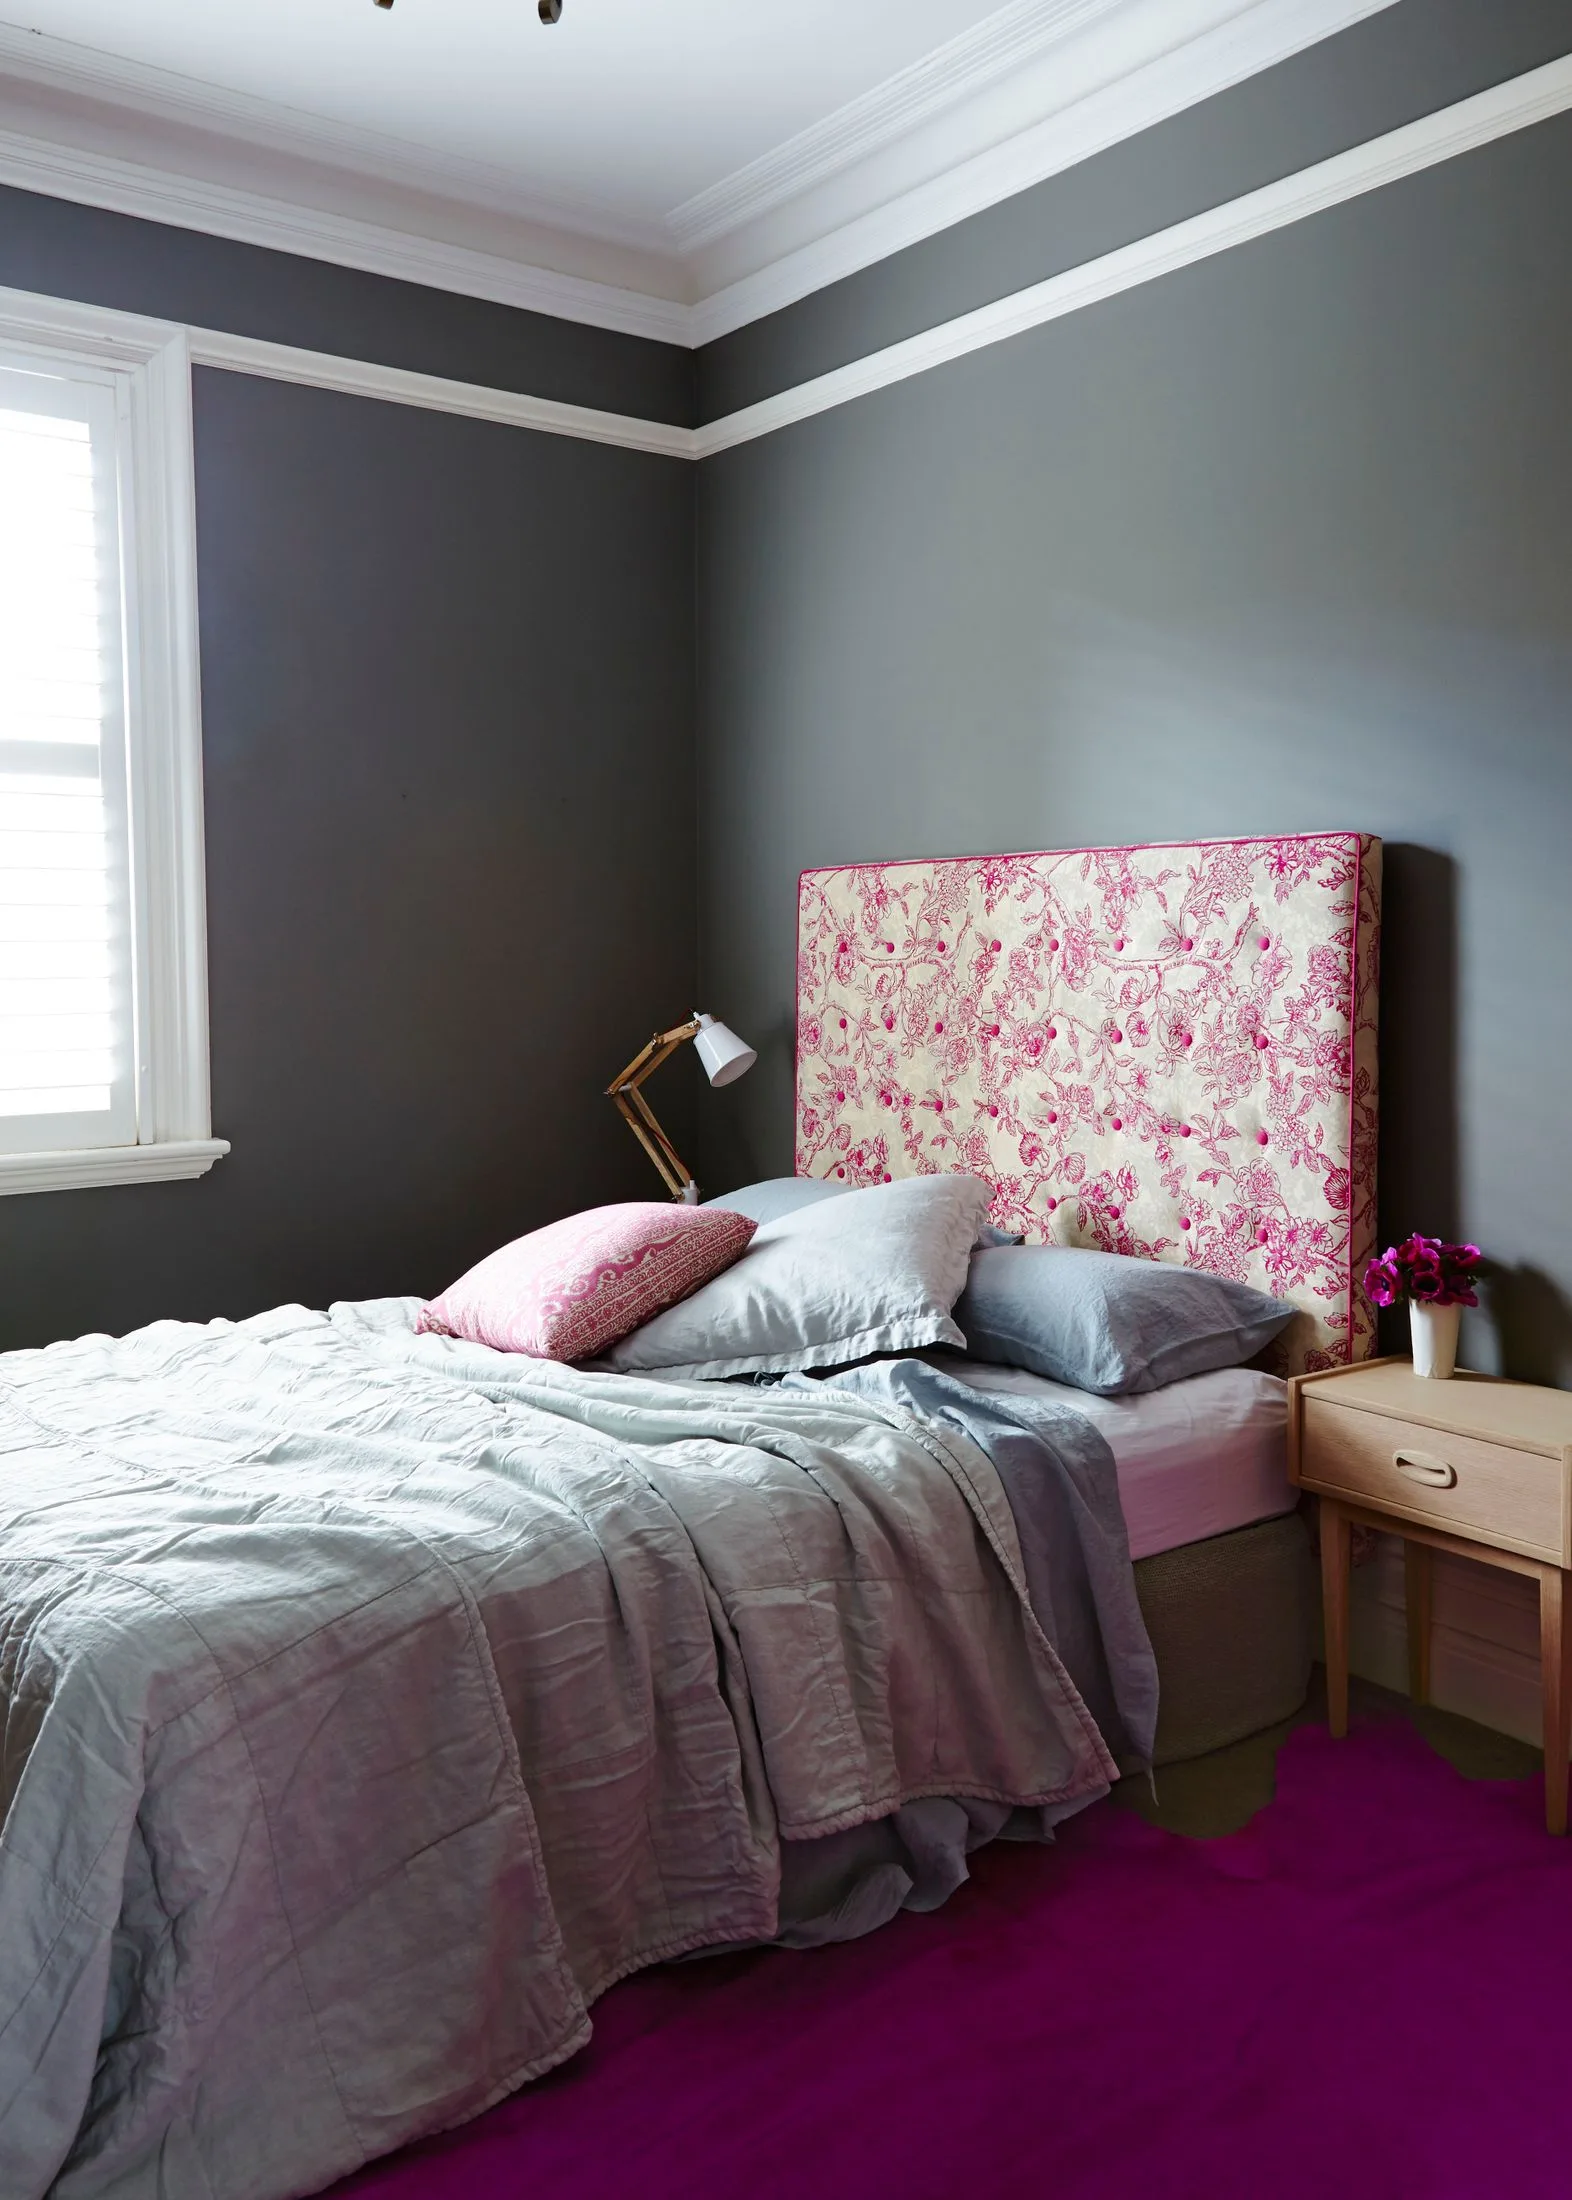
Cath Muscat
6. READ THE INSTRUCTIONS It sounds simple but even the pros need to read up on specifics before getting stuck in as each paint formula requires a different approach.
7. ‘CUT IN’ TWICE Areas that are too tight for a roller need to be painted using a brush – this is called ‘cutting in’. Use a brush on corners and edges, then use a roller on the walls, then cut in again. This will help to avoid a ‘picture frame’ effect on walls.
8. REACH AWKWARD CORNERS Extension poles or a platform ladder are the best solutions for hard-to-reach areas. For tight spots or corners, specialty applicators such as a corner pad or a sanding block are perfect for getting right into all those nooks and crannies.
9. PERFECT THE CEILING It’s best to use a flat paint on ceilings – they hide surface imperfections and provide a seamless finish. Using a ‘colour change’ ceiling paint, designed to hide surface imperfections, is also a great way to ensure every spot is covered.
10. DOUBLE- OR TRIPLE-UP For most painting projects, two coats should be more than enough to achieve a good finish. Painting over a dark colour with a lighter colour, may require a third coat or an additional undercoat.
 Marcel Aucer


