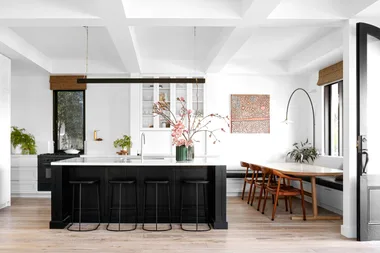
Truth time: who has a stash of photos to “one day put on the wall”? If you’re guilty of having big plans and not a lot of action, you’re not alone.
This weekend, why not pull out your collection and create a beautiful photo wall display of your precious moments? All you need is a level, a bunch of fixings and a little creativity – it’s easier than you think to create a gallery wall display that’s at once artful, stylish and full of meaning.
Think of it as a team project if you like – many hands make light work and the whole family can get involved with this one. Read on for five simple steps on how to create a fantastic photo wall.
1. Choose your favourite photos
Your photos don’t all need to match one another to create a cohesive and stylish gallery wall. Your choice of memories and moments must be the driving force behind your display – aesthetics will follow. You may have a group of black and white photos or all coloured ones. Perhaps there’s a mixture of both, as well as different ages and styles, shapes and sizes.
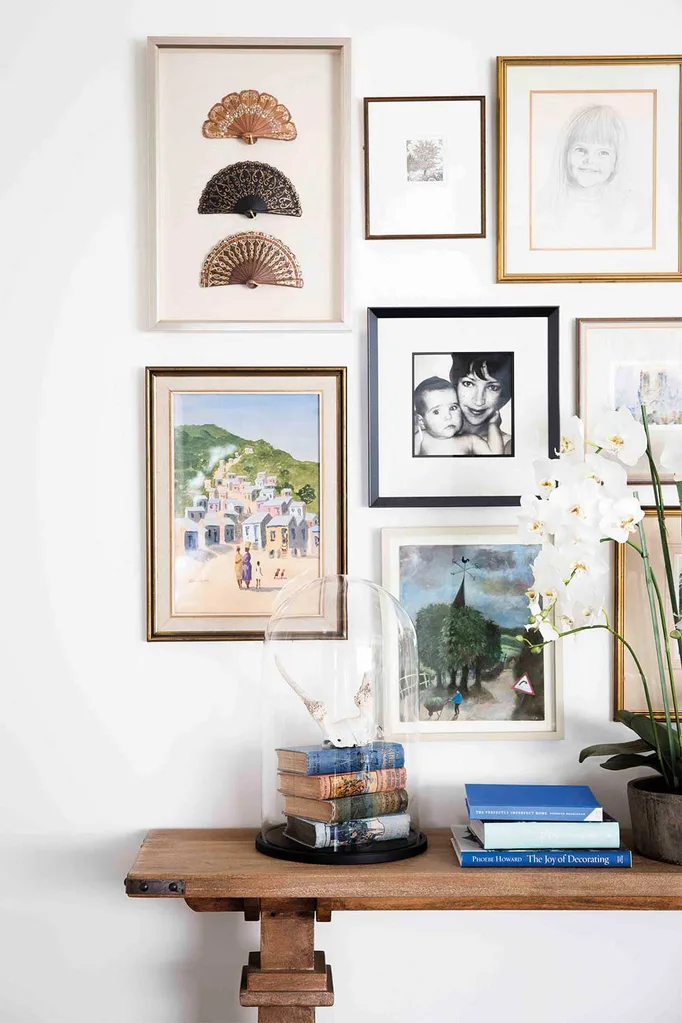
2. Keep it simple
If your items are already in frames, it’s simply a matter of arranging them and using hooks, Command strips or a compact drill driver to attach them to the wall. First, lay out your photos on the floor to play around and find the best arrangement. Consider hanging in a ‘salon style’ arrangement, where all items are not lined up symmetrically.
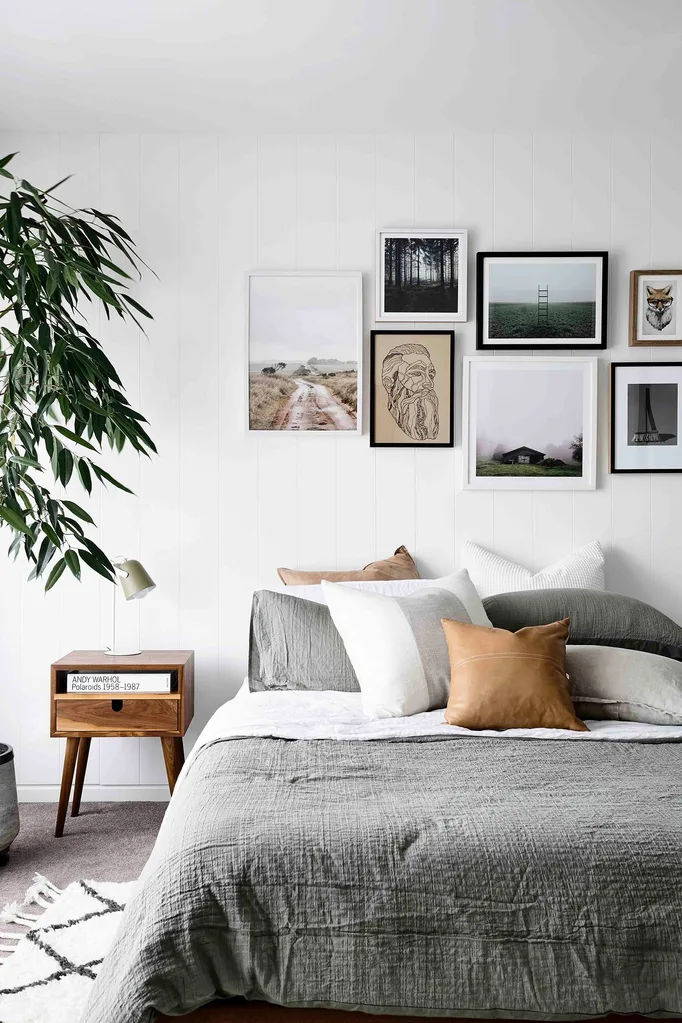
3. Decide on frames
Affordable frames are now available from places like IKEA and Kmart for a matched set, but it also works well to blend older and new frames and mix and match styles for an eclectic look. Some of your items may already be in frames so this will guide your choices of what to buy.
Older frames may be in need of a little TLC or the help of a staple gun to reattach backings or reinforce mitre joins at the corners. Or, if you’re feeling particularly creative, why not try making your own frames from scratch?
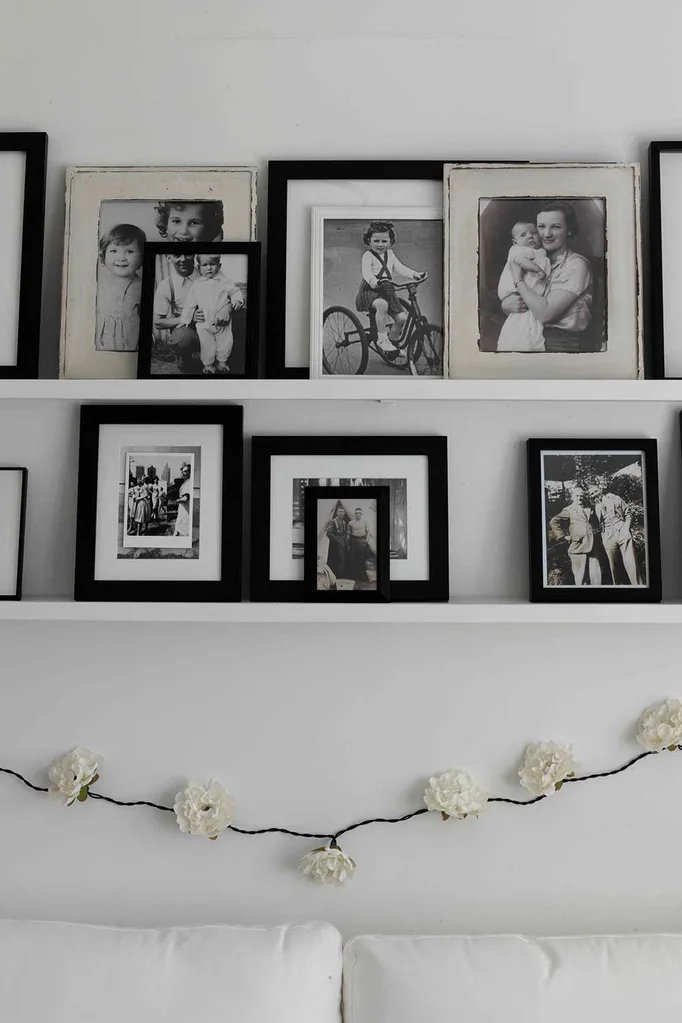
4. Style it up
Use a mat surround or background in your chosen colour and mount each image or object on top of it within the frame. Use masking tape or a hot glue gun to secure items within the frame and lay the mat in place.
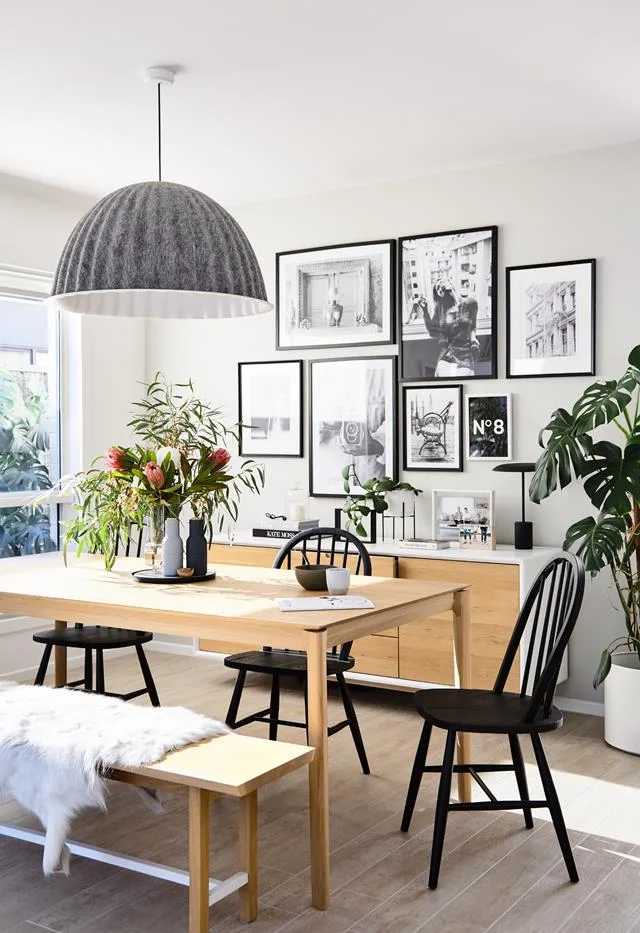
5. Consistency is key
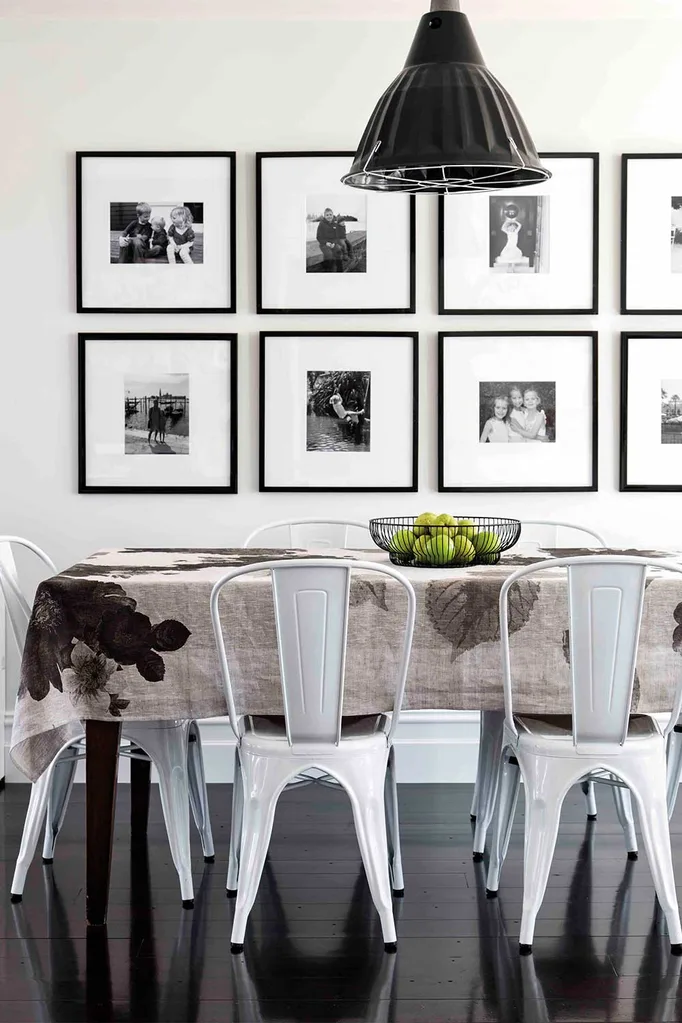
For a more contemporary look, unifying your photos with a consistent style of frame will bring them all together. An off-the-rack set of frames is a wonderful way to achieve this but ensure you select a set of images that are similar in size, colour or shape. Use a drill to secure the frame to the wall once your photo is in place.
 Alex Reinders
