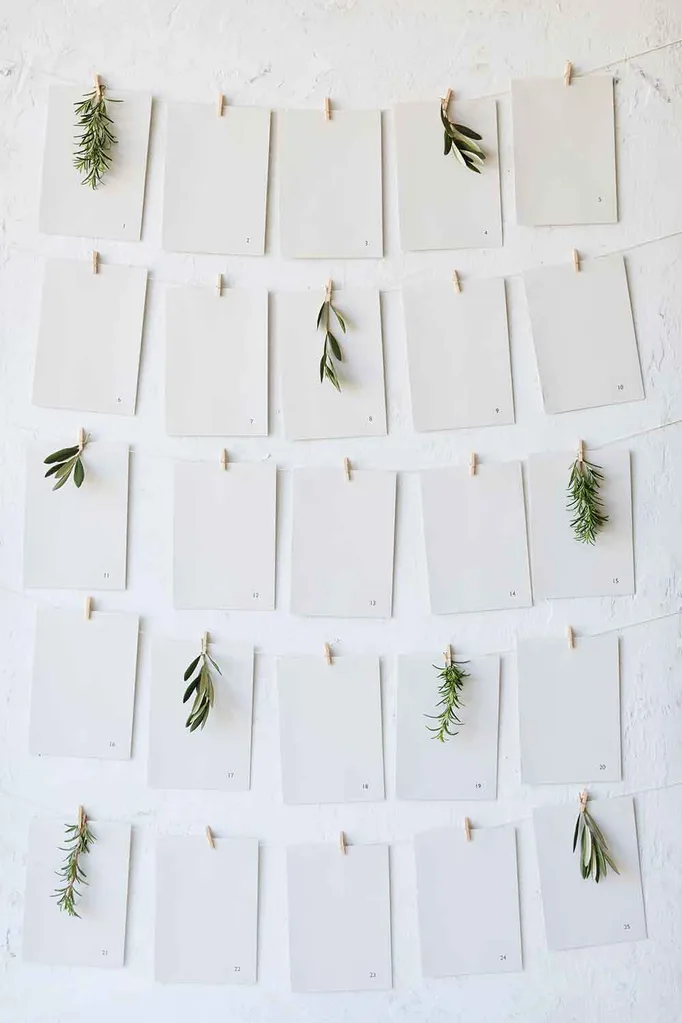
As you near December 25, add to the excitement of Santa’s arrival by starting each day with a lovely message or small gift from our simple, elegant DIY advent calendar.
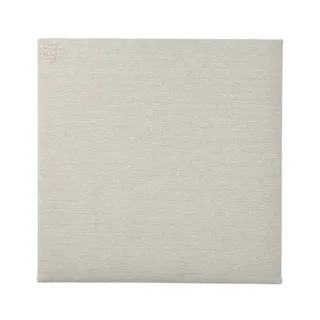
Work with something you have at home, cover a board with festive fabric or find inexpensive pinboards at IKEA or Kmart to match your Christmas decor each year. For a white finish like ours, apply a water-based primer, then coat in white paint using a paintbrush or mini roller.

You will need:
- Pen
- C6 white envelopes (25)
- Printer (optional)
- Scissors
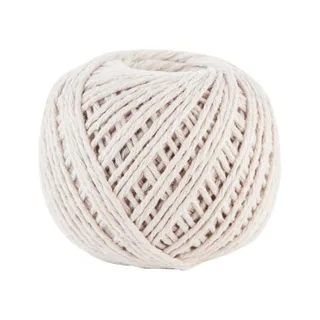
- White cord
- Sticky tape or pins
- White-painted pinboard or similar
- Paper or card (for handwritten notes)
- Small gifts
- Small wooden pegs (25)
- Selection of flora
Tip: Look for bulk packets of small envelopes and small wooden pegs at discount stores or craft stores such as Spotlight.
How to make your own advent calendar:
- Using a pen, neatly write numbers from 1–25 on the bottom right-hand corner of each envelope. Alternatively, print numbers with your home printer.
- Measure and cut five 1m lengths of cord.
- Tape or pin cord to a white-painted pinboard or similar, spacing each one to suit.
- Place handwritten notes or small gifts inside each envelope.
- Working from the top row, left to right, peg the envelopes onto the string in numerical order.
- Decorate the calendar with seasonal or Christmas flora sprigs on randomly selected envelopes.
- Starting December 1, take turns opening an envelope until the big day.
